Trigger Groups in Google Tag Manager - Adding multiple trigger conditions to a tag without Copying
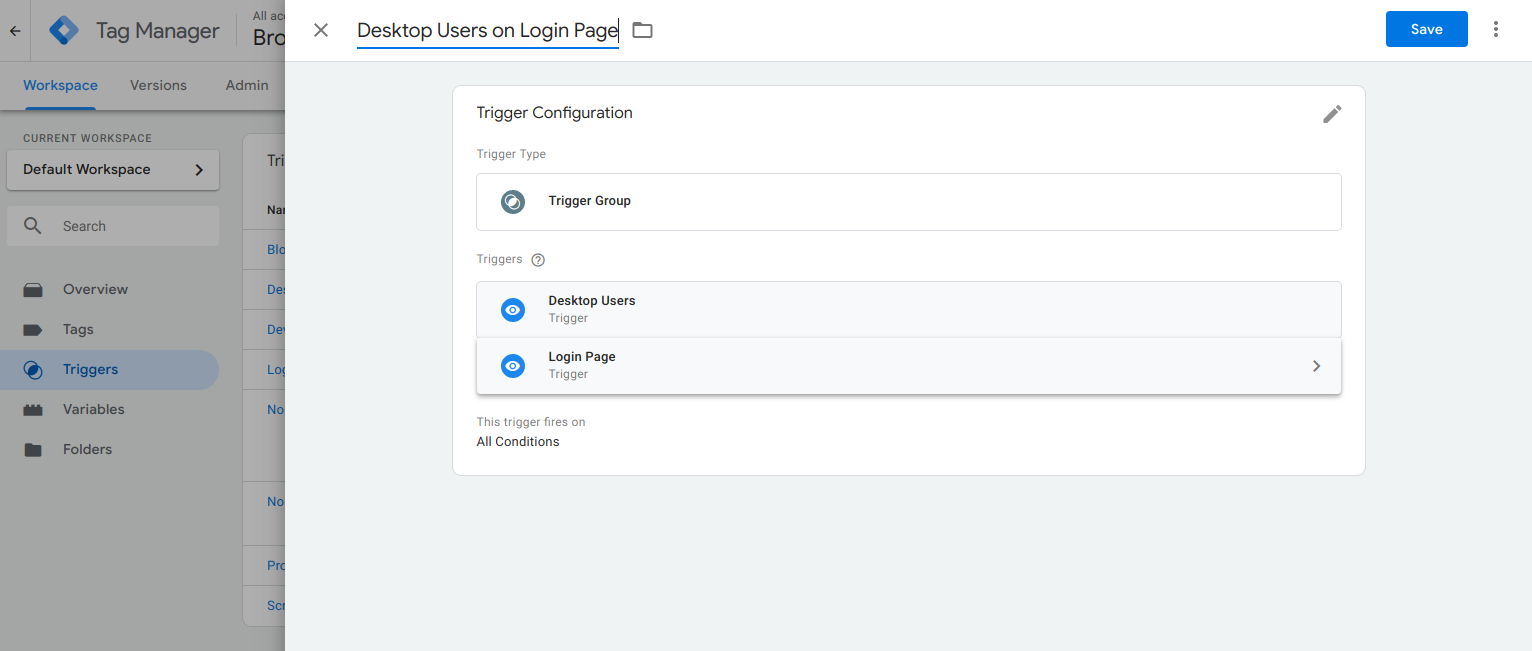
Google Tag Manager recently introduced a feature to evaluate multiple triggers conditions that comes under a Trigger Group before firing a tag. This Trigger Group feature will now allow GTM users to combine two or more triggers for firing a tag. For example a Trigger Group can be a combination of two triggers as below:
Trigger 1: Page URL matches 'https://browsee.io/login' and
Trigger 2: Screen Resolution contains 'Desktop'
Let us discuss in details on how we can create this Trigger Group in GTM.
- Login to your GTM and click on
Triggersfrom side panel.
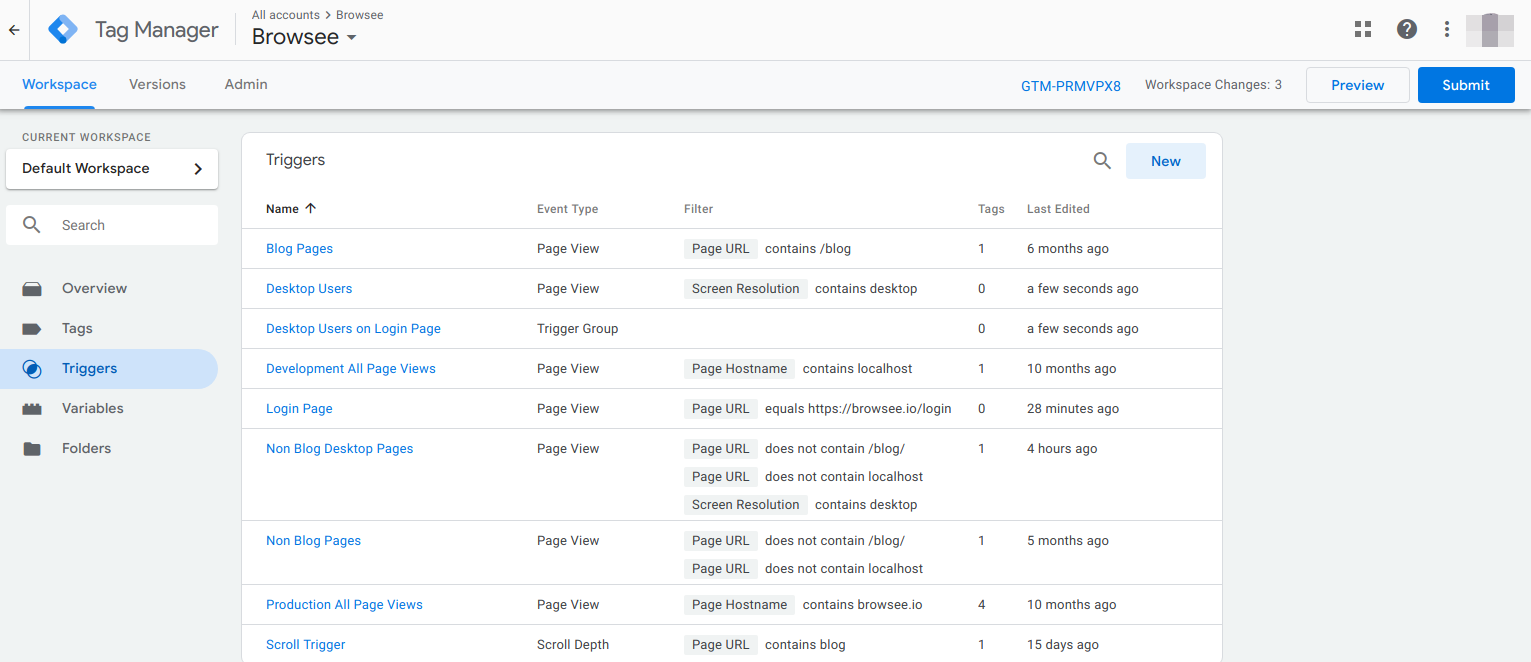
2. Click on New button from the upper right corner and this will open a right side panel.
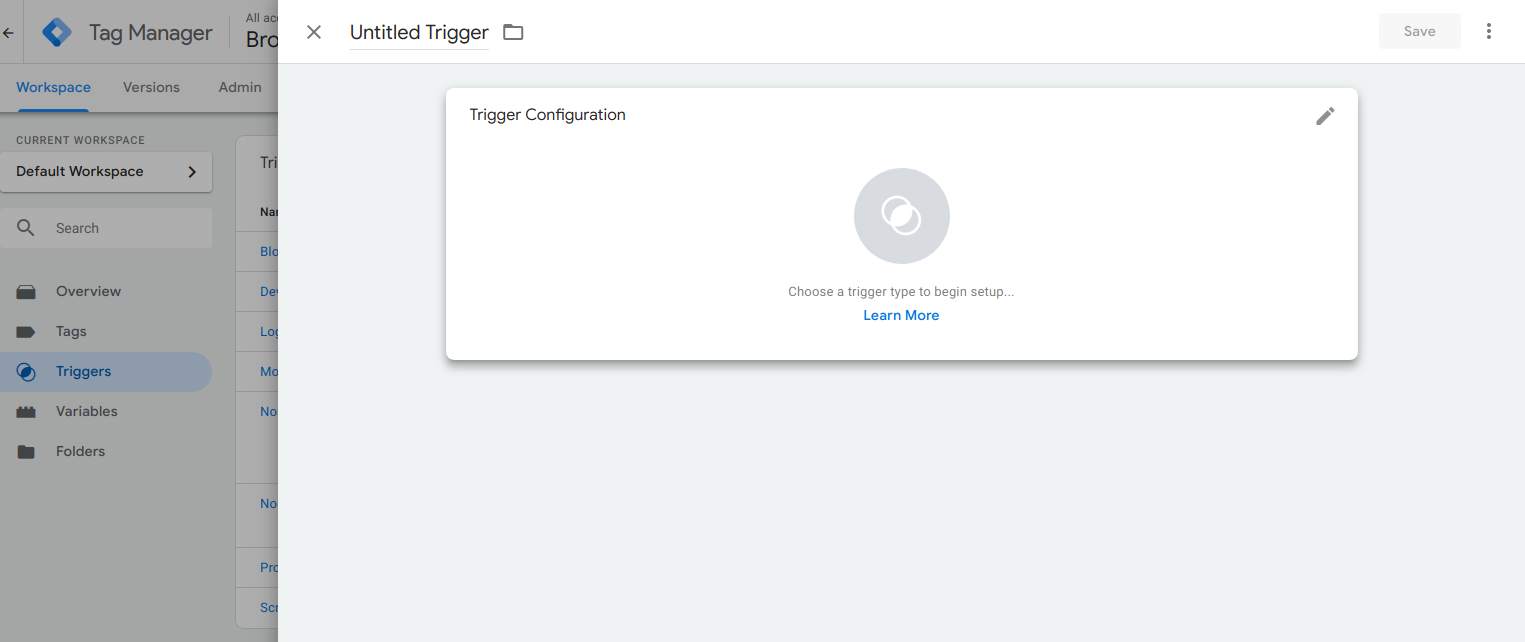
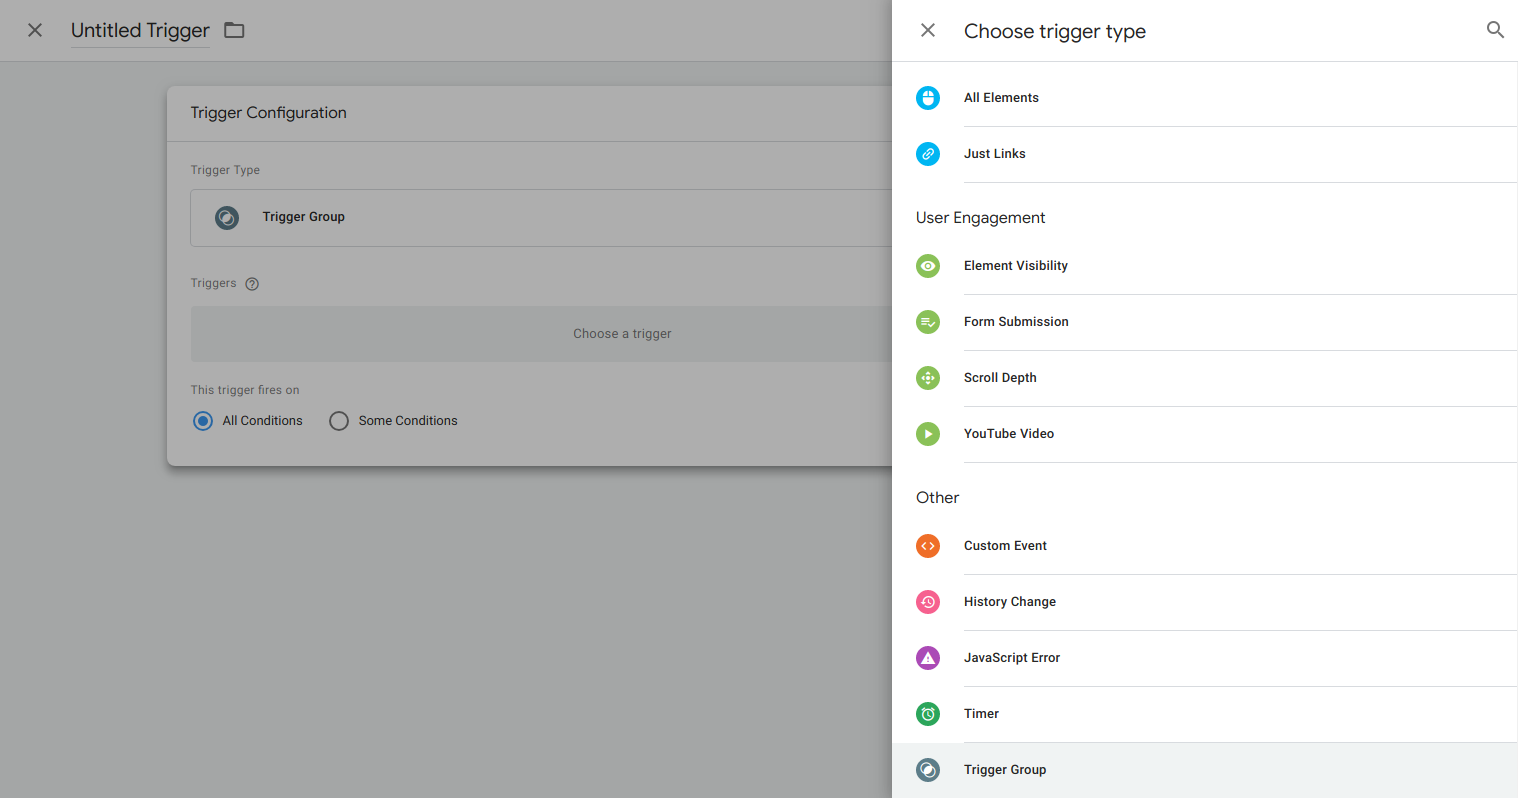
3. Once you click on the Edit button, you can select an option to add the Trigger Group from the right panel as shown.
4. Once you add a trigger group, you can click on the Edit Button to add the triggers for trigger group. You can add multiple triggers using '+' button. For our example, we will add Desktop Users and Login Page triggers to target users who are on login pages on desktops.
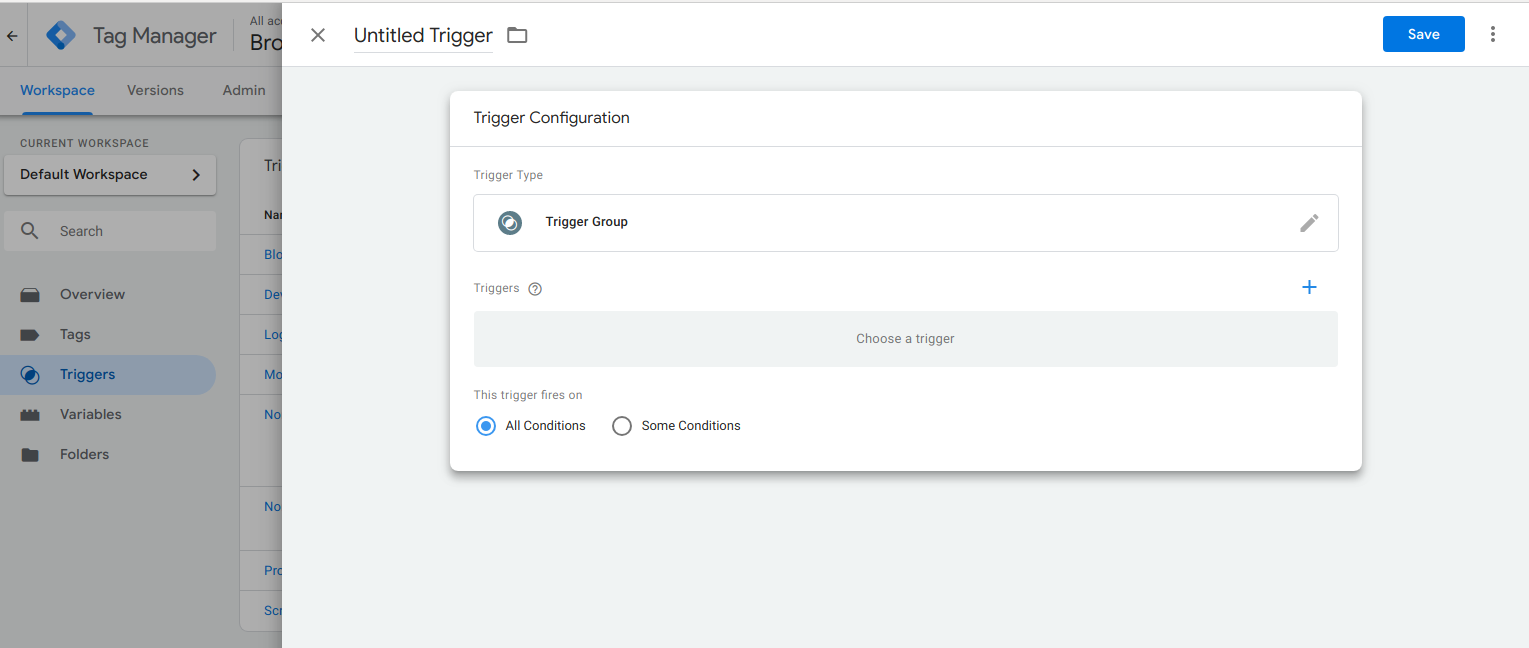
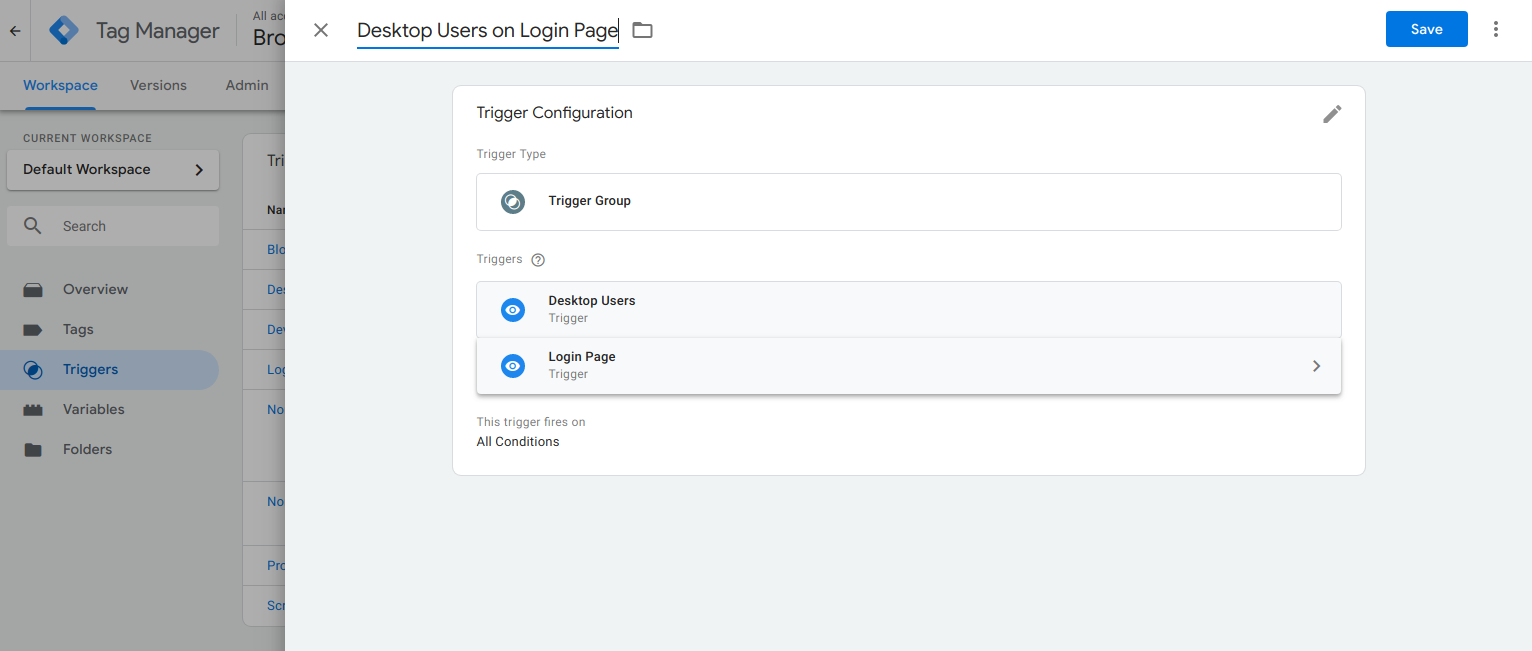
5. You can now save your Desktop Users on Login Page Trigger Group and use it as a new trigger to fire a tag.
Benefits of using a Trigger Group over using Multiple Trigger conditions
Before GTM introduced Trigger Group, we used to incorporate their functionality by copying conditions to make multiple triggers. For example, let us say I want to differently target users on Login Page who are using Browsee from Desktop and from Mobile. Now, if I use multiple trigger conditions, I have to make two triggers:
Trigger 1: Page URL matches 'https://browsee.io/login' and Screen Resolution contains 'Desktop'
Trigger 2: Page URL matches 'https://browsee.io/login' and Screen Resolution contains 'Mobile'
Of course, this is a perfect solution and it will work smoothly but it looks complicated. Now, let us try to do the same thing with Trigger Group. I will first add three triggers:
Trigger 1: Page URL matches 'https://browsee.io/login' and
Trigger 2: Screen Resolution contains 'Desktop'
Trigger 3: Screen Resolution contains 'Mobile'
Once I have all these three triggers, I can use them in any permutation combination to create new Trigger Groups. So, the problem of copying similar conditions in each trigger is now solved using these groups.
For those users who want to read us on how to add Screen Resolution as Desktop, please check out our blog post here.
How much is a great User Experience worth to you?
Browsee helps you understand your user's behaviour on your site. It's the next best thing to talking to them.


