Adding Animations to Your Website
Adding images to your website is an amazing way to boost customer interaction, and adding animations is even better! Of course, you can also add videos; however, they can be too large to load quickly, and because of that, they might be blurry sometimes while playing on your website. A better way is to use SVG animations. If you don't have much experience with animated SVG, this article will help you learn how to add animations to your website and the best tools you can use to create those animations.
One of the problems with animating SVG is that JavaScript libraries are slowed down, which can be particularly irritating. However, CSS has made it a bit simpler with the easy creation of SVG animations. It can make a small and plain icon become something astounding with the simple steps of SVG animation and optimization.
SVG animation gives countless possibilities to create and animate icons and files. But first off, what is SVG?
Scalable Vector Graphics (SVG) is an XML-primarily based image, much like HTML, that can help create animation elements. Several methods are used to animate SVG, which include Synchronized Multimedia Integration Language (SMIL), styling, and scripting.
Designers usually rely on Adobe for animation, which can help with SVG animation too. However, there are several other tools to make an animation. Before we talk about those tools, let us first learn how we can create SVG files using CSS animations.
How to create SVG animation
Create and save your SVG
First up, you will need to create an SVG to work with. Reduce the size of the artboard to suit the graphic, and then click on 'Save As'. On the SVG Options dialogue, choose "SVG code..." after selecting SVG from the "save as type" dropdown menu.
Optimize your SVG for the internet
To make your image easier to manage, you need to cut out useless tags. You can do this manually by copying the code in your preferred editor and removing empty tags and metadata. Alternatively, an extremely good tool called SVGOMG can do this automatically. Just paste the code into the 'Paste Markup location on the SVGOMG interface, then copy the image again with the button on the bottom right.
Set up your HTML Document
Once you have the SVG photo you want to animate prepared and optimized, open your code editor of preference and set up a blank HTML file. You'll write the CSS animation in a CSS file, so you have to create this too.
Build the layout in your SVG animation
Now, let's build the foundation of our animation and make an area for our SVG. Add a header and two columns: one on the left for a few textual elements and one on the right to be able to preserve the SVG that we are going to be animating. To make the page more interactive, use a second, static SVG as a background at the body tag.
Place the SVG
If you want to use your animation to make the introduction at the top of your page more exciting. Paste the optimized SVG code into the second column at the web page. If you are using Bootstrap, make the SVG class Img-fluid to ensure it works on mobiles too.
Add classes to the SVG
Adding classes to the SVG allows CSS to select the individual shapes inside the photo. This means you can animate extraordinary shapes of the picture wherever you want, which creates a more advanced effect.
<svg>
<g>
<rect class="rectBackground" width="147.4107"
height="68.7917" x="31.2946" y="114.1042"
rx="4.5882" ry="3.9565" fill="#2a7fff"/>
<path class="rectText" d="..." vector-effect="non-scaling-stroke" stroke-width=".470476156" font-size="12" fill="#fff"
fill-rule="evenodd" stroke="#fff" stroke-linecap="round"/>
</g>
</svg>
Initial states
Selecting our SVG elements in CSS is similar to selecting any other element. We use our classes to select the elements within the SVG. Both components of our SVG will begin as hidden while the web page loads, so you have to use CSS to set each element's opacity to zero.
path.rectText {
opacity:0;
}
rect.rectBackground{
opacity: 0;
}
Declare the animations
We want to declare the name and keyframes for each animation so CSS knows what we need to do when we ask it to carry out an action. We've chosen textDraw and rectFade, as they describe each animation. rectFade will be an animation with two steps. While textDraw will have an additional middle step.
@keyframes textDraw {
  0%{}
  50%{}
  100%{}
}
@keyframes rectFade{
  from{}
  to{}
}
Assign animation and properties
We upload the rectFade animation to the rectBackground detail and make the duration one second. We use an easeOut cubic bezier to provide a smoother feel. We also add forwards so the element maintains the properties of the last keyframe when the animation ends.
rect.rectBackground{
  opacity: 0;
  animation: rectFade 1s cubic-bezier(0.645,
  0.045, 0.355, 1) forwards;
}
Add the rectangle animation
With two keyframes, all we need to do for our rectangle is set start and finish attributes. Let's begin with a 1% width and finish on 100% to offer an 'expanding to the right effect. We can also set opacity to 1 on the ending keyframe so the shape fades in at the same time.
@keyframes rectFade{
  from {
  width: 1%;
  }
  to {
  width:100%;
  opacity: 1;
  }
}
Add the textual content animation
Next, we can create a line-draw effect on our textual content, after which we can use a fill to fade in. To set up the textual content animation, we give it our textDraw with a four-second period. The cubic bezier has been changed on this step to offer it a slightly different movement speed.
path.rectText {
  opacity:0;
  animation: textDraw 4s
  cubic-bezier(.56,-0.04,.32,.7) forwards;
}
Delay the start of the text animation
Our textual content needs to run immediately as the rectangle has finished fading in. Because the rectangle has a one-second period, put off the beginning of the text animation until then.
path.rectText {
  opacity:0;
  animation: textDraw 4s
  cubic-bezier(.56,-0.04,.32,.7) forwards;
  animation-delay: 1s;
}
Emulate line drawing
To get our line-drawing effect, we can use the stroke-dasharray and stroke-dashoffset parameters. The values might be different depending on the SVG you are using. To find your value, use your selected developer equipment and increase stroke-dasharray from zero until the whole form is covered with one stroke.
path.rectText {
  opacity:0;
  stroke-dasharray: 735;
  animation: textDraw 4s
  cubic-bezier(.56,-0.04,.32,.7) forwards;
  animation-delay: 1s;
}
First line drawing keyframe
Now that we've got one very large stroke that covers the whole textual content path, let's offset it by its very own duration to push it away effectively. Using stroke-dashoffset for the same value as our dasharray should be able to make that happen. Let's put this in our first keyframe. If it is not already, we will also set the stroke to white and make the shape's fill transparent.
0%{
fill:rgb(255, 255, 255, 0);
stroke:#fff;
stroke-dashoffset: 800;
opacity: 1;
}
Draw the lines
Our middle keyframe shows up at 40% through the animation. We carry the stroke-dashoffset back to zero, so the dash covers the whole path. To ensure that the transparent fill only appears after the drawing is finished, we can upload it again at this time.
40%{
stroke-dashoffset: 0;
fill:rgb(255, 255, 255, 0.0);
}
Fill within the shape to finish the SVG animation
For the last part of the animation, we can fill the shape in white. All we want to do for the closing keyframe is raise the alpha value of the fill color. This produces the fill's fade-in effect.
100%{
  fill:rgb(255, 255, 255, 1);
  stroke-dashoffset: 0;
  opacity: 1;
}
The Most Popular Web Animation Tools
SVGator
If you don't know much about the .svg file format, it's different from a .jpg or .png because it’s vector-based, instead of bitmap-based, letting you scale up an .svg photo without it looking bad. The XML code that holds everything together is XML code. If XML sounds too complicated, don’t worry; web animation tools like SVGator let you create .svg animations even if you don’t know how to code.
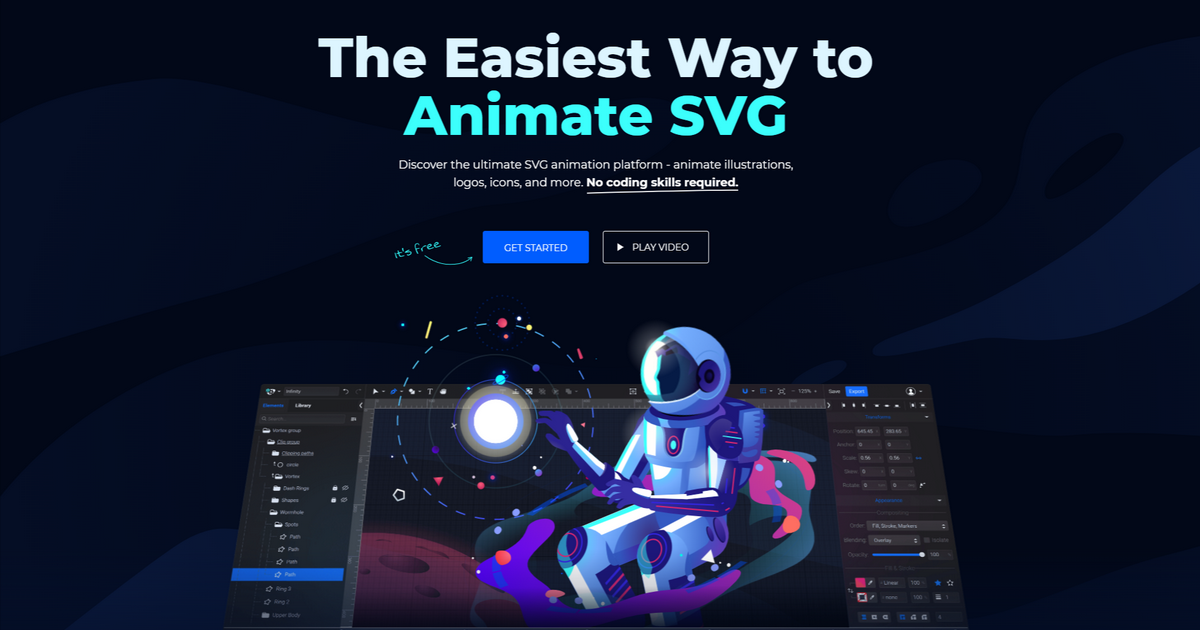
Creating animations all happens on a timeline. Defining keyframes, adding effects, integrating movement, and including points of activity for various users is easy. Even if you’ve never done any sort of animation, SVGator’s drag-and-drop functionality makes it easy to jump in and create something that looks awesome.
Lottie
Let us tell you what Lottie animations are and why they are useful. Lottie animations are vector-based .json files that maintain their quality in the event that they’re scaled up, and also retain file sizes at a minimal.
Most designers will create their images in Adobe Illustrator, animate them with After Effects, and then convert them into Lottie files using plugins like Bodymovin or LottieFiles. For people who want a less complicated system, there are other options available, like the now open-source Haiku Animator, which offers an all-in-one platform of web animation tools for creating Lottie animations without having to depend on external plugins.
Lottie animations won’t slow down page load speeds and are an easy way to add complicated animations without sacrificing overall performance.
Adobe After Effects
Packed to the brim with functions, After Effects is one of the most extensively used web animation tools. The sheer quantity of what you could do with it makes After Effects a bit overwhelming if you’re new to it; however, there are lots of YouTube videos, guides, and other content material available to get you on your way to mastering it.
If you’re already using any of Adobe’s products, like Photoshop or Illustrator, After Effects is also compatible with those apps, letting you keep layers, vectors, colors, and other properties, giving you the opportunity to create and fine-tune visuals in Adobe applications and bringing them into After Effects without any issues.
After Effects’ suite of web animation tools makes it viable to create visuals, including:
- Animated logos
- Data visualizations/infographics
- Animated background videos or visuals
- 3D animations
- Kinetic typography
Vev
Whether you want to add an easy animation like a scroll-triggered text fade-in or want to go for something extra complicated like a 3-D picture carousel, Vev offers a wide variety of web animation equipment to infuse your designs with creativity and movement.
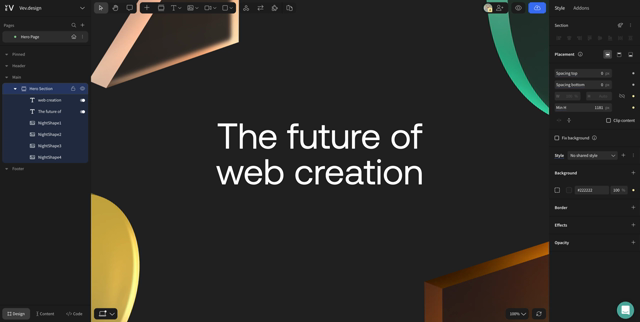
Vev has a multitude of animated effects built in, like fade-in, stagger, slide-in, scaling, and rotation, that you may apply to any text or visual. You have complete control over the duration, delay, and easing curves, as well as how they are triggered, which enables you to alter the appearance and timing of animations.
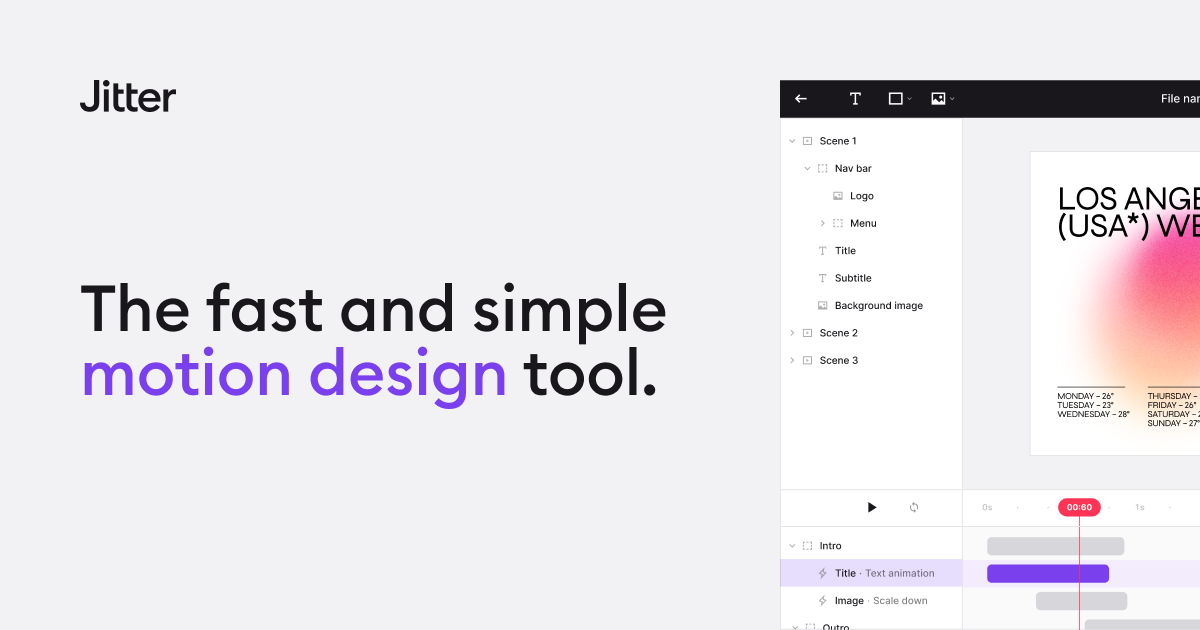
Jitter
With a timeline-based editor and a stripped-down workflow, Jitter is a powerful way to put together innovative web animations without having to do a lot of work. You’ll discover effect presets like slide, mask, and scale, in conjunction with a fantastic selection of templates to get you started. You can then export your work as 4K videos, gifs, or Lottie files, making them easy to combine into designs.
Spline
Many designers love web animation tools like Spline, which open up 3-D web design to everyone. With a nicely organized UI and intuitive drag-and-drop functionality, it’s a well-developed app that makes making beautiful animations smooth.

Spline makes networking seem easy with a user showcase that lets you edit others' work as well as an active Discord channel. They additionally provide an intensive library of assets and tutorials that will help you discover ways to use their app, demonstrating that they care about their customers.
Saola Animate
Saola Animate provides a collection of no-code HTML5 web animation tools that can be used to create everything from formal data visualizations to cartoon-style animations. Animations are built scene by scene via a timeline, which helps you apply effects, interactions, and different elements of customization.

Saola Animate gives plenty of flexibility as well as capabilities, with the added benefit of paying a fixed fee in preference to the commitment of a subscription.
Rive
From meticulously animated UI elements to massive morphing background animations, Rive gives you the net animation gear you need to feature beautiful and interactive visuals for your layout projects. Rive is a no-code device but also includes its personal scripting known as Rivescript which seems and feels very much like JavaScript, giving you even greater control over your animations.
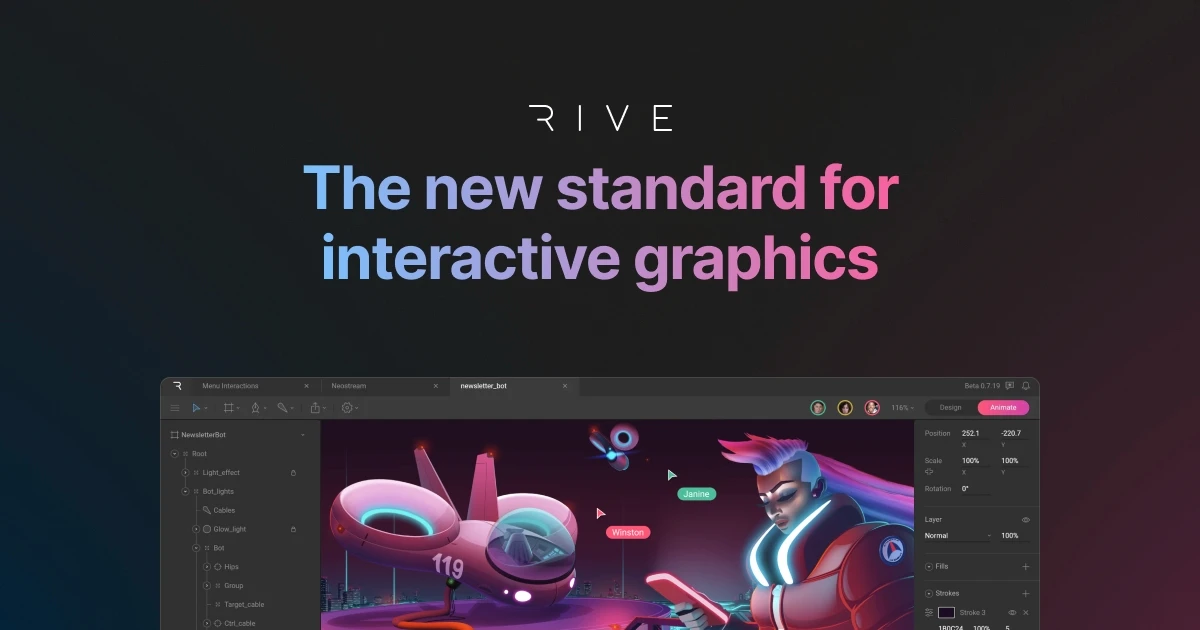
This is another animation app that generates embed code that’s easy to integrate into your web layouts.
Conclusion
The SVG animation tools have become a lifesaver for designers working on animating websites and presenting top-notch user experiences. It's a lot easier to create animations using any of the tools listed and the steps on how to create amazing animations outlined above in order to generate more revenue for your website.
How much is a great User Experience worth to you?
Browsee helps you understand your user's behaviour on your site. It's the next best thing to talking to them.

